Build a Platform
This guide will step you through creating a basic workflow for a marketplace using Zai's express workflow.
Tools for testing the API
We recommend the following application to test our services with. The following guide will use these tools as an example, though you can use any other tools you are familiar with.
For testing API calls:
-
Postman: You can get the latest Postman here. After installing Postman, simply Import and then you can use the Link option and provide the link to our collections which are hosted here: API Postman Collection. Alternatively, you could go to the link and get the raw text and choose to import using raw text
For testing webhooks:
- RequestBin
- Runscope
Terminology
Before you create your first transaction with Zai, there are a few terms that you should be familiar with:
- Buyers or payers are users who pay for things on your platform.
- Sellers or payees are users who receive money from your platform.
- Platform refers to you as a Zai customer or your website, application, marketplace, etc.
- Items are records of a transaction between a buyer, a seller and the platform. These represent what the buyer is paying for, such as your product or service.
- Fees are applied to Items, and this is how you charge your buyers or sellers for using your platform.
Getting ready
Platform details
Now that you’re familiar with the basics, let’s do some setup to make things easier later on.
-
To obtain a Pre-live account, contact Sales so we can assess your needs and help set you up accordingly.
-
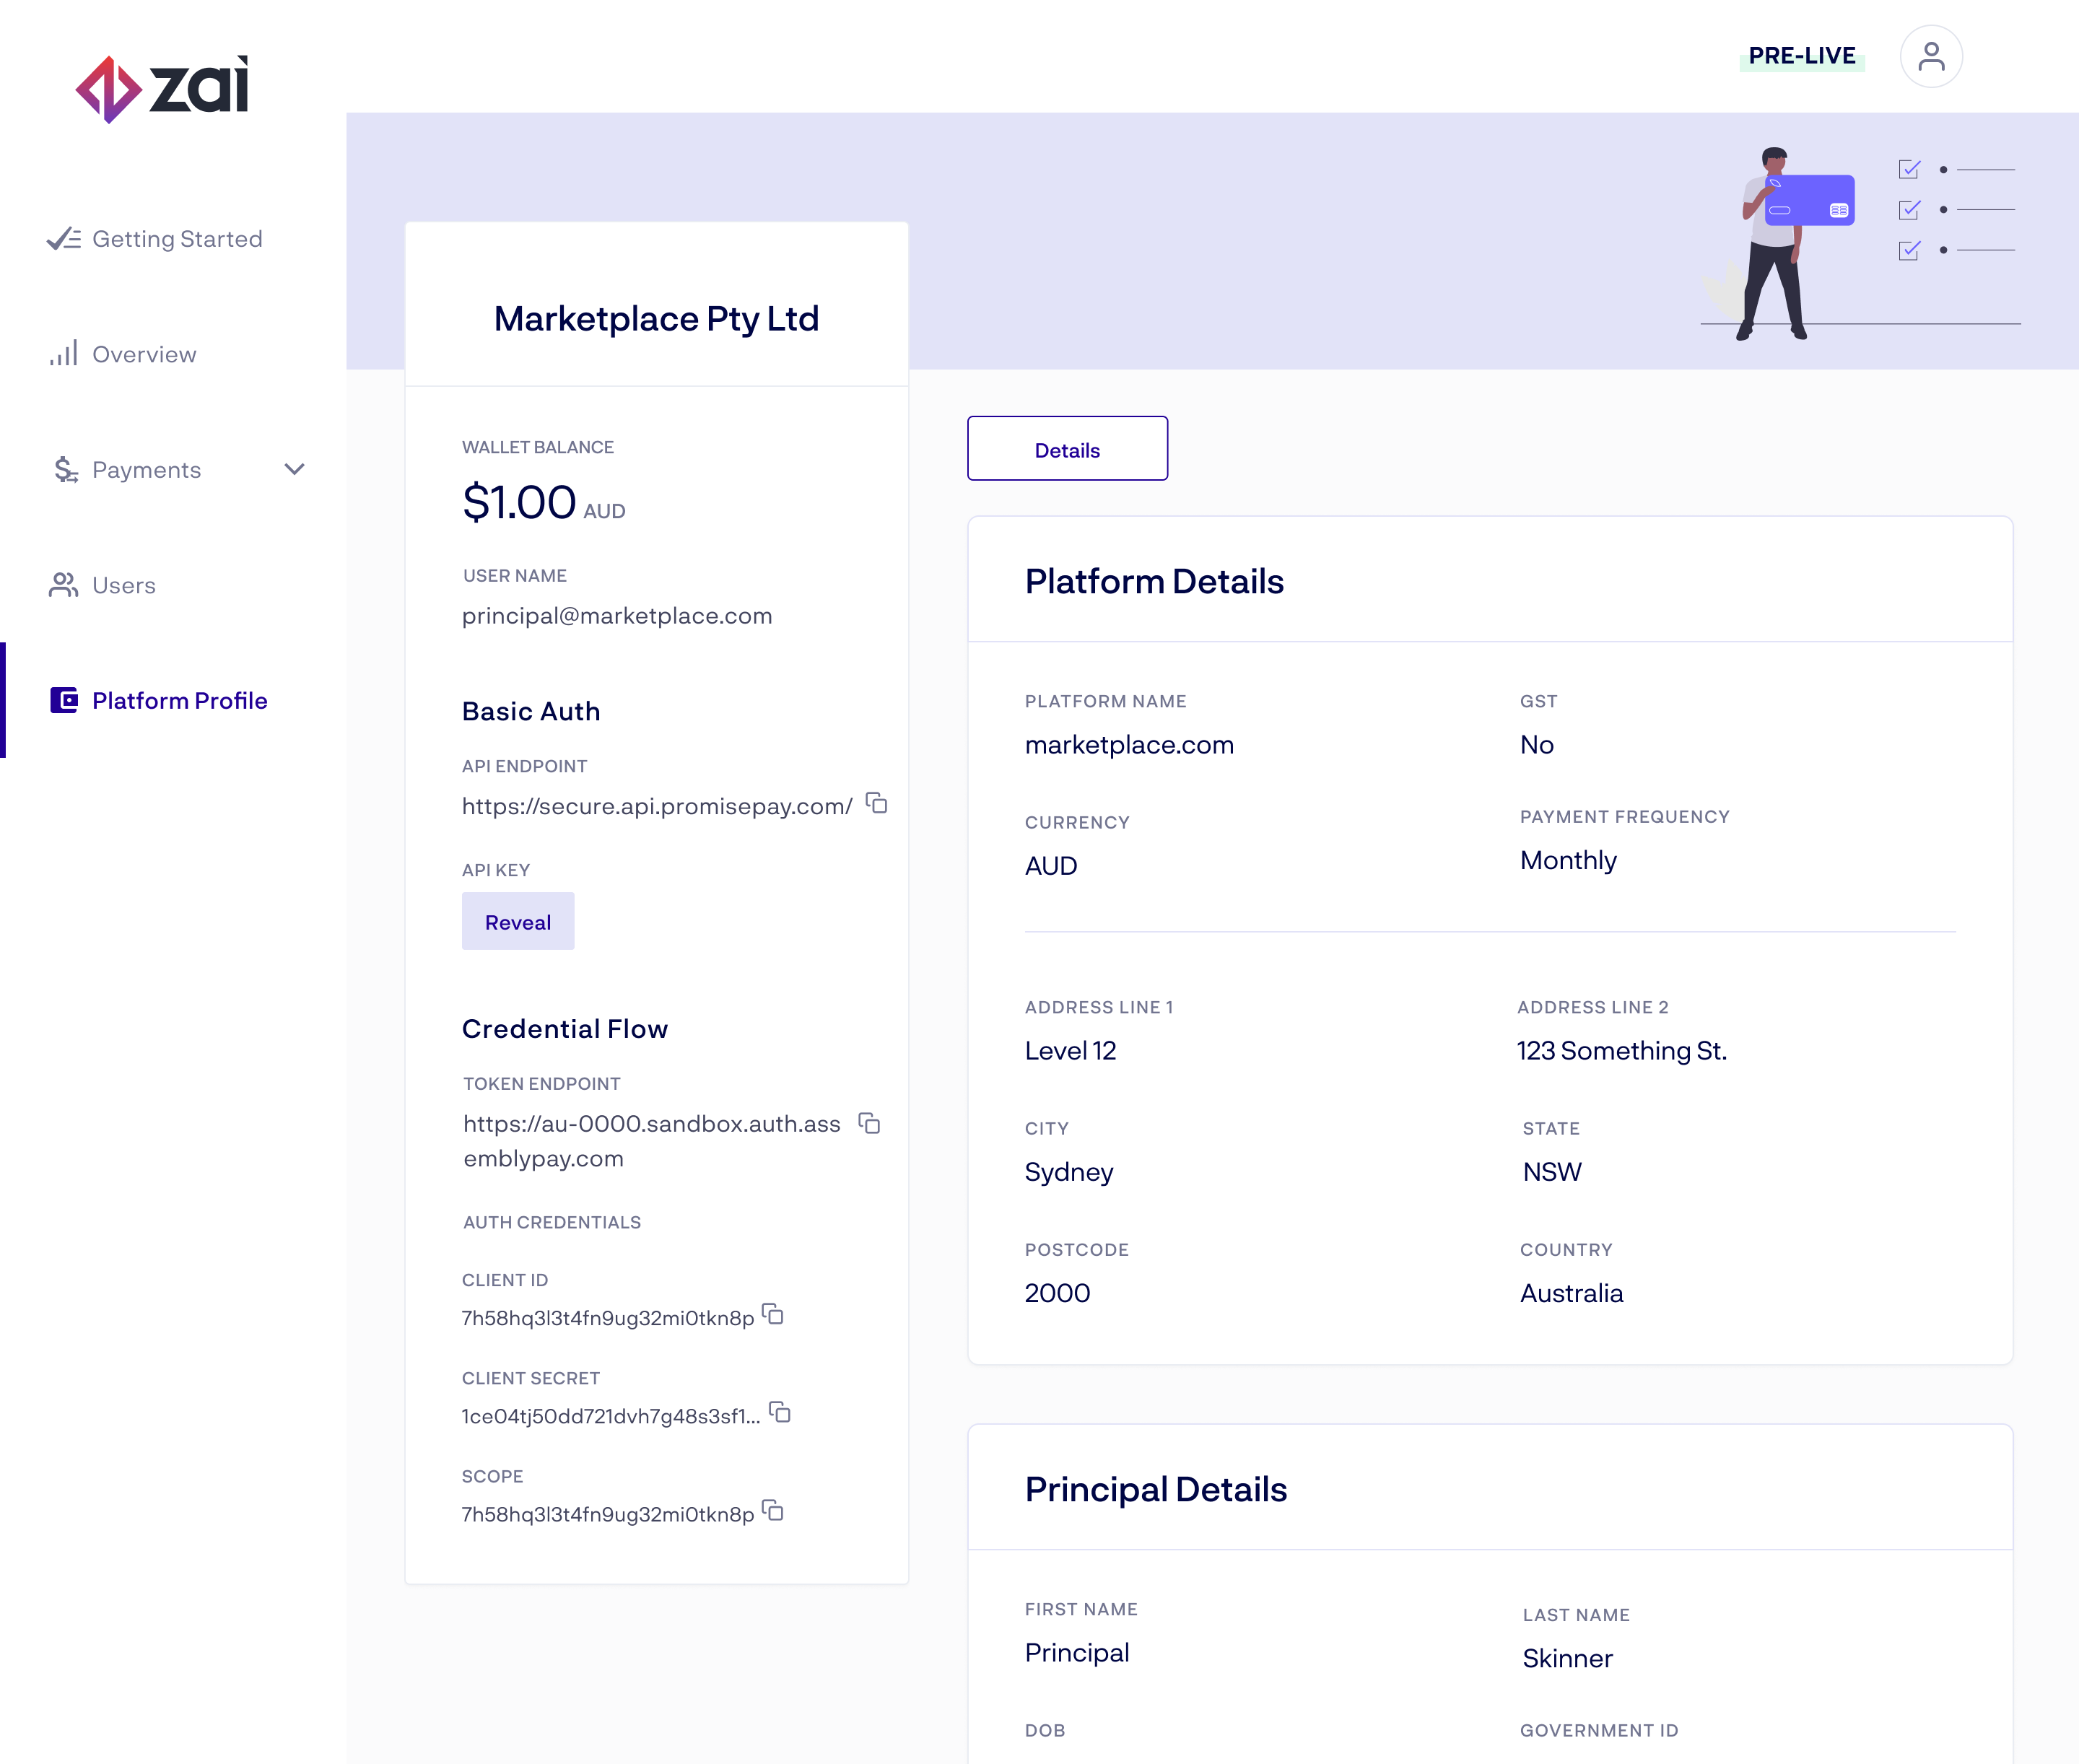
After being set up, please sign into your Pre-live account and locate your API keys under the Platform Profile page.
Please noteWhen you go to the Zai Dashboard, before logging in, make sure that Pre-live is selected. The Live environment is for production use only. Use Pre-live to test your integration.

Set up your first transaction
- Create a buyer
- Add a credit card to the buyer. Remember to use the Test data.
- Create a seller
- Add a bank account to the seller
- Set seller disbursement account
- Create a fee and set it to the seller
Create your first transaction
Now that your platform is set up and you have all the pieces you need to create a transaction with Zai, let’s get started.
To create a transaction between your buyer and seller, you'll need to create an item. To do this, run the following:
- List users to find the ID of your buyer and seller. Note the user IDs.
- List fees to find the fee to assign to the transaction. Note the fee ID.
- Create an item and associate it with the user IDs and fee ID you just noted. For this example, set payment_type to "2" (express).
Once funds have been moved to the seller, they will be released to the seller’s bank account. To be notified when this has occurred, you can create a webhook for the Item.
- Create a webhook with object type being
items.
The resulted item will be created with a state of pending.
Now that you’ve got an item created, you'll want to take payment from the buyer:
- Make payment. In the API response, the item assumes a completed state as the funds would move directly from the buyer to the seller.
To check that payment was made on the item from your buyer:
- Show item. In the API response, the item assumes a completed state.
You’ve now completed your first transaction with Zai, well done!
Build out a specific workflowFor further information on building out specific workflows with Zai, our payment workflows page is a great starting point.
Updated 5 months ago
